 Creating your first new topic
Once the project exists you'll want to create some topics. Let's create a new topic for Web Monitor for the System Requirements of Web Monitor.
Start by highlighting the parent topic in the Tree display - in this case the West Wind Web Monitor root topic. Right click and select New Topic or press Alt-N, or use the New Topic toolbar button.
You'll see the New Topic Wizard pop up.
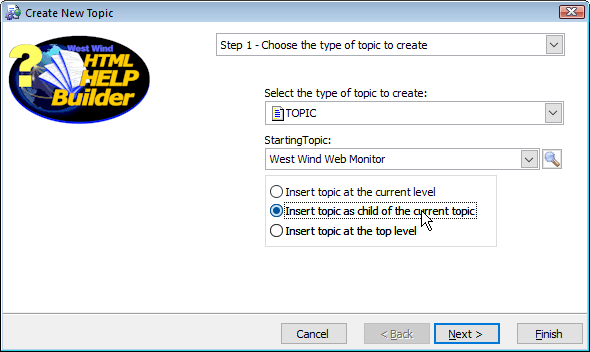
You get a few options in this dialog:
Topic Type
Topic types determine which template Help Builder uses to render a topic, and also what icon is associated with the topic. Different topic types render slightly different output. Common topic types are the basics, TOPIC, HEADER, WHATSNEW and there are number of developer related types like CLASSHEADER, CLASSMETHOD, CLASSPROPERTY etc. In this case we'll create an informational topic, so choose TOPIC.Starting Topic
You can choose the topic that this topic is relative to. By default this will be the currently active topic, but you may change this to any topic in the drop down list which contains all topics of the help file or by using the Topic Selection Tool which provides a tree list and search functionality to select a single topic.Insertion Level
You can choose where the new topic gets inserted relative to the Starting Topic.
In this case we want the System Requirements topic to insert below the current topic which happens to be the Root topic. The Wizard tries to make a smart guess about where the next topic and what topic type to use based on the active topic so usually there's a pre-selection that is ready to work without further entry.
Click Next and you'll be prompted for a title for this new topic.
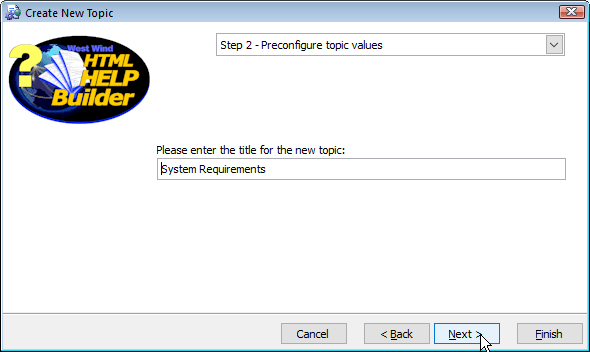
Click on Next and Finish to create the new topic. The content view should now show the new topic below your index topic:
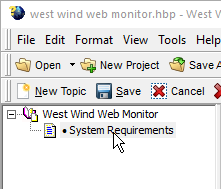
Notice the dot next to the new topic. This means that the topic body currently has no content in it. It's meant as a reminder that you have work to do on this topic. The dot also shows when a topic is marked for follow-up.
Editing your new Topic
The new topic pops up in Edit mode automatically so you're ready to start entering text into the topic immediately. Remember you can toggle the preview window on or off with Alt-V or by clicking on the Preview Browser icon on the toolbar.
To create topic text simply type your text using Markdown Formatting, which is mostly plain text along with some basic Markdown syntax for headers, lists links and a block quote in this case:
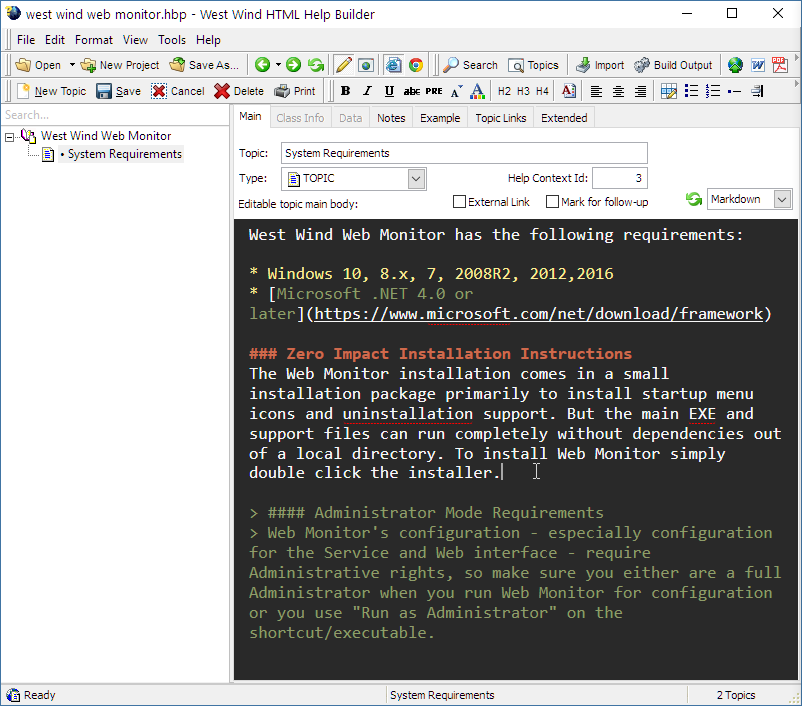
If you're unfamiliar with Markdown syntax you can use the edit toolbar to many common operations like bold, italic, insert lists, images, links to other topics and lists. While Markdown has quite a few features, the most common ones boil down to just a handful you use on a regular basis.
Live Preview
You'll notice as you type that the preview window will display your text as you type and when you take a short break. If the preview window is not visible you can toggle it with Alt-V:
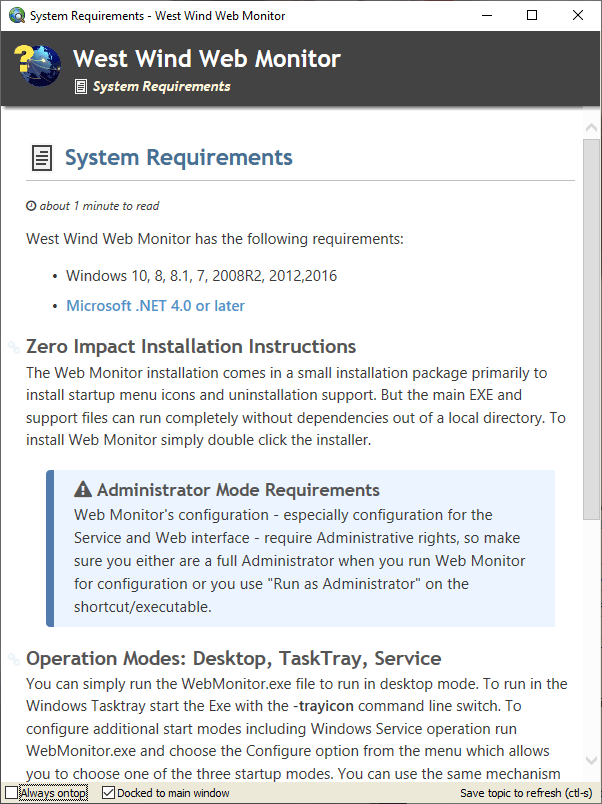
Note: You may notice that the rendered topic is fully formatted and includes headers and footers that you didn't type. This content is generated by the active layout template which is customizable. More on how to customize the HTML rendering in later steps.
Templates
Help Builder output generation works off a set of HTML templates, that have a base layout into which your topic content is merged and then rendered as HTML. The templates make it easy for you to keep focus on your content without worrying about complex layout. The templates provide the base structure and ensure your topics look nice and consistent.
Each topic type (Topic,Header,ClassHeader,ClassMethod etc) in Help Builder is driven by a matching HTML Topic template that is responsible for generating the HTML content for the topic. These customizable templates are plain HTML with embedded field expressions that map the topic data you type into the HTML output.
There's also a master Layout Page that drives the overall layout of the page. Each project has one Layout page, that holds the base HTML document as well as the repeating HTML page Chrome like the header, footer and for the online forms the table of contents area.
Both Topic and Layout templates are merged with your topic data to produce the final HTML output you see in the preview or external browser.
This template mechanism is entirely based on Web technologies - HTML5, CSS3 and JavaScript - and can be fully customized using these technologies. We provide several default themes that you can customize, or you can completely create your own theme.
See also
Step By Step Guide |© West Wind Techologies, 1996-2023 • Updated: 09/25/20
Comment or report problem with topic

